

Table of Contents
I still remember the heavy, grit-covered weight of the pan when I first pulled it from a dusty box in my grandmother’s cellar. It wasn’t the sleek, black culinary icon you see in high-end kitchen catalogs. It was a disaster—orange with flaky rust, rough as sandpaper, and smelling faintly of metallic decay. Most people would have thrown it in the scrap heap, but I saw a challenge. I wanted to see if the legends were true: can a piece of iron really last forever?
That afternoon was the beginning of my obsession with cast iron skillet care. Through a process of trial, error, and a lot of steel wool, I transformed that rusted relic into a glass-smooth, non-stick heirloom that I now use every single morning. Today, I’m going to walk you through the exact steps I took to breathe life back into that iron, and more importantly, how you can maintain yours so it never tastes a speck of rust again.
Why Cast Iron Skillet Care is a Lifelong Skill
Before we get into the “how,” we need to understand the “why.” Modern non-stick pans are essentially disposable. They are coated in chemicals that eventually flake off, forcing you to buy a new one every few years. Cast iron is the opposite. It is a living tool. The more you use it, the better it gets.
The secret lies in a process called polymerization. When you apply oil to iron and heat it past its smoke point, the fat transforms into a hard, plastic-like film that bonds to the metal. This is what we call “seasoning.” My journey taught me that seasoning isn’t a one-time event; it’s a relationship between the cook, the heat, and the oil.
Phase 1: The Great Restoration (Stripping the Rust)
When I started with my grandmother’s pan, the first hurdle was the rust. If you have a pan with orange spots or a crusty, uneven surface, you cannot simply cook through it. You have to go back to the beginning.
The Abrasive Reset
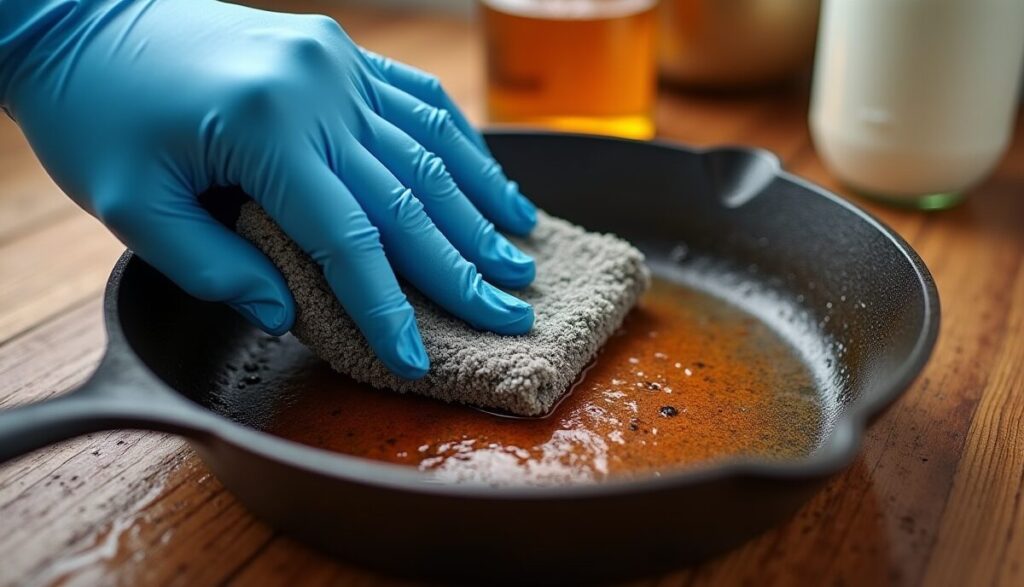
I sat on my back porch with a bucket of warm water, a splash of mild dish soap (yes, we will talk about the soap myth later!), and a heavy-duty steel wool pad.
- The Scrub: I scrubbed with a circular motion, watching the orange water swirl away to reveal the dull, battleship-gray metal underneath.
- The Detail Work: For the stubborn pits of rust in the corners where the handle meets the base, I used a small wire brush.
- The Result: After an hour of elbow grease, the pan was naked. Raw iron is vulnerable; if you leave it wet for even ten minutes, “flash rust” will begin to form. I immediately dried it with a lint-free rag and placed it on a warm stove burner to evaporate every microscopic drop of moisture.
Phase 2: Mastering the Art of Seasoning
This is where most people get intimidated, but I found that cast iron skillet care is actually quite simple if you follow the “thin is king” rule.
Choosing the Right Fat
I’ve tried everything from lard to flaxseed oil. In my experience, high-smoke-point vegetable oils or specialized grapeseed oils work best. They create a durable bond that doesn’t flake as easily as animal fats.
The Step-by-Step Seasoning Ritual
- Warm the Iron: I preheated my oven to 200°F and put the clean, dry pan inside for 10 minutes. This opens the “pores” of the metal.
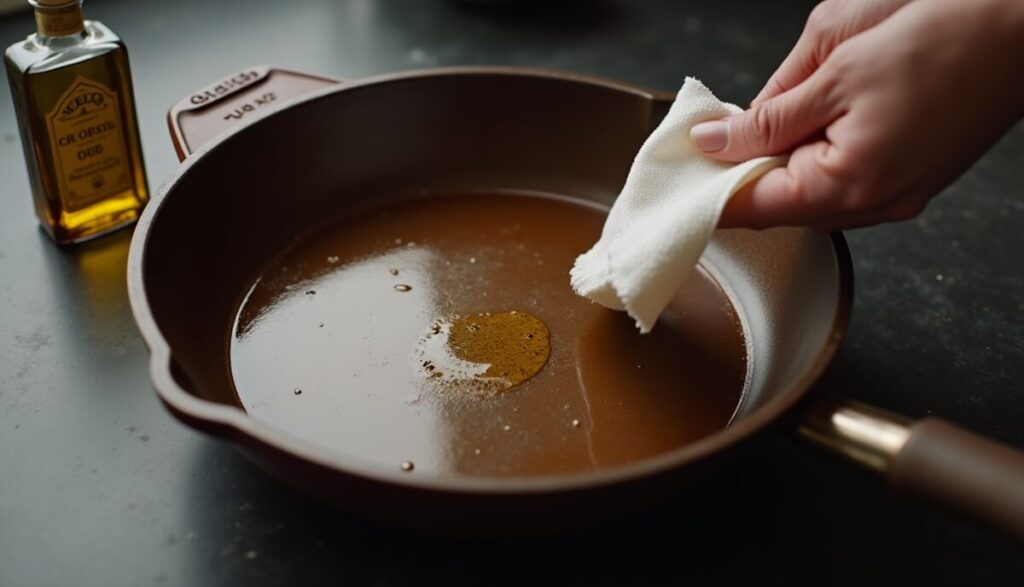
- The Oil Application: I took the warm pan out and rubbed a tablespoon of oil over every inch—top, bottom, and handle.
- The Great Wipe-Off: This is the most important part. I took a fresh paper towel and tried to wipe all the oil off. You want the pan to look dry, not greasy. If you leave too much oil, it will turn into a sticky, brown mess in the oven.
- The Bake: I cranked the oven to 450°F and placed the pan upside down on the middle rack. I let it bake for one hour.
- The Cool Down: I turned the oven off and let the pan cool completely inside. When I pulled it out, it was no longer gray; it was a dark, bronzed brown. I repeated this process three times until the pan was a deep, obsidian black.
Phase 3: Daily Maintenance (The Three Pillars)
Now that my pan was restored, I had to learn how to live with it. I found that successful cast iron skillet care boils down to three simple habits I perform after every meal.
1. Clean While Warm
I never let my skillet sit in the sink overnight. As soon as the pan is cool enough to touch but still warm, I run it under hot water. I use a chainmail scrubber for stuck-on bits.
- The Soap Myth: I used to be terrified of soap. But the truth is, modern dish soap is gentle. It won’t strip a well-seasoned, polymerized finish. If the pan is oily, I use a drop of soap. The world hasn’t ended yet.
2. Bone-Dry is the Only Way
Rust is the only true enemy of cast iron. After washing, I never “air dry.” I put the pan back on the stove over medium heat for two minutes until the water sizzles away.
3. The Maintenance Layer
Once the pan is hot and dry, I apply a tiny drop of oil (about the size of a dime) and buff it into the cooking surface with a paper towel until it glows. I turn off the heat and let it sit. This “mini-seasoning” ensures the finish gets stronger with every single use.
Troubleshooting Common Issues
Even with the best cast iron skillet care, things can go wrong. I’ve faced these two common problems:
- The Sticky Surface: If your pan feels tacky, you likely used too much oil during seasoning or didn’t get the oven hot enough. The fix? Bake it again at 450°F for an hour without adding more oil.
- Flaking Black Bits: These aren’t toxic; it’s just carbonized food or weak seasoning. I usually just give it a good scrub with a stiff brush and do one round of stovetop seasoning to patch the area.
The Heirloom Reward
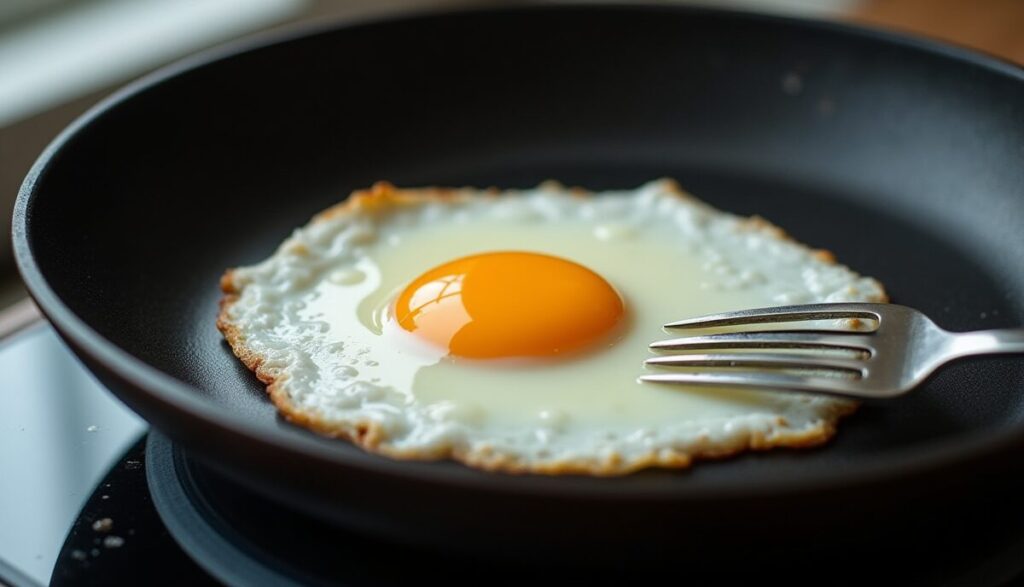
Last week, I fried an egg in that same grandmother’s skillet. With just a tiny pat of butter, the egg slid around the pan like it was on ice. No sticking, no tearing, just a perfect golden edge.
That is the reward for consistent cast iron skillet care. You aren’t just maintaining a tool; you are building a legacy. Every time I cook, I’m adding another microscopic layer of history to that iron. It’s a slow, tactile process that connects me to the cooks who used this pan long before I was born, and hopefully, to the ones who will use it long after I’m gone.
I want to see your results! If you follow this guide, tell me: Did you pass the Egg Slide Test? Let’s settle it in the comments: Are you Team Butter (a little fat for flavor) or Team Bone-Dry (trusting the seasoning alone to do the work)?